Learn how to measure H, D1, D2, thread and connection dimensions for hydraulic filter elements before requesting a compatible replacement.
Introduction
A hydraulic filter element may look simple, but a small dimensional difference can prevent installation, reduce sealing performance, or create an unreliable replacement. Height, outside diameter, inside diameter, thread type, and connection style are often the first details a supplier needs when a part number is missing, unreadable, or not enough on its own.
Accurate measurement is especially important for maintenance teams, purchasing departments, and equipment owners who need to replace a filter without shutting down production for an extended period. The goal is not only to find an element that fits physically. The replacement must also support the required flow, pressure, filtration rating, fluid compatibility, and operating temperature.
This guide explains how to measure the main dimensions of a hydraulic filter element and how to record the information clearly. It also covers common measurement mistakes and the extra details that should be confirmed before ordering.
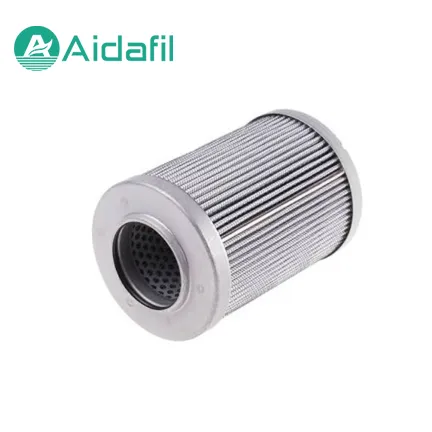
Why Accurate Filter Element Measurement Matters
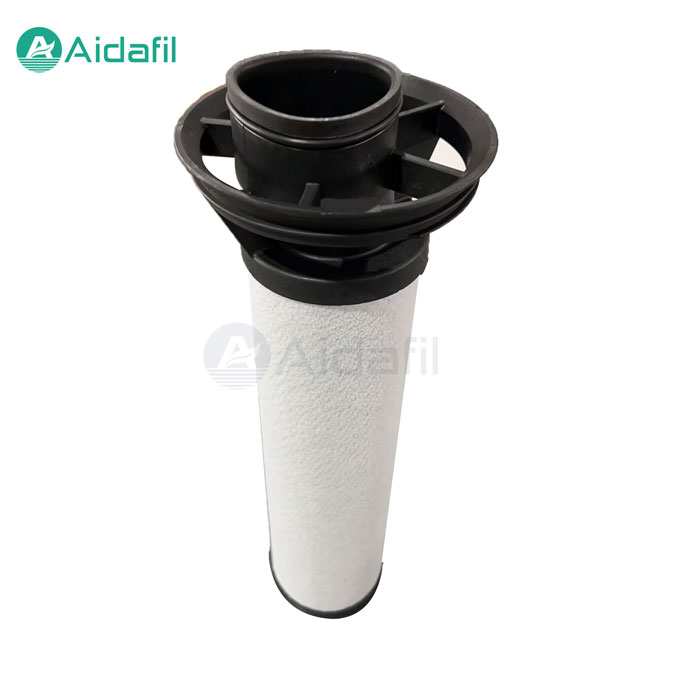
A hydraulic filter element sits inside a housing or filter assembly. The element must seal correctly at both ends, remain stable under differential pressure, and allow the required flow without bypassing contaminated oil. If the height is wrong, the element may not compress the seals properly. If the diameter is too large, it may not enter the housing. If the inside diameter or connection is wrong, the element may not locate on the center tube or mounting spigot.
Dimensions alone do not guarantee interchangeability, but they provide the first practical checkpoint. They help distinguish between similar product families, identify possible replacement options, and reduce the risk of sending an incorrect sample or part number.
Prepare the Work Area and Measuring Tools
Before removing the element, isolate the hydraulic circuit and follow the equipment manufacturer's safety procedure. Depressurize the system, allow the oil to reach a safe handling temperature, and use appropriate personal protective equipment. Keep the work area clean because contamination introduced during inspection can affect the replacement.
A practical measuring set includes:
- A calibrated vernier caliper or digital caliper
- A steel rule for overall height checks
- A thread pitch gauge where available
- Clean paper or a measurement sheet
- A camera for clear reference photographs
- A marker and a clean container for the removed element
Measure the actual element rather than relying only on a catalog drawing. If the element is damaged or crushed, note the deformation and use several measurements to estimate the original dimensions.
How to Measure Overall Height (H)
Place the filter element upright on a clean flat surface. Measure from the main upper reference face to the main lower reference face. Record whether the measurement includes end caps, seal lips, locating lugs, or protruding fittings. The meaning of H can differ between product drawings, so always describe the reference points used.
For example, an overall height measured across the complete end caps may differ from an effective sealing height measured between the seal contact surfaces. If the drawing shows a specific definition of H, follow that definition. Otherwise, record both the overall height and any clearly visible sealing height.
Take at least three readings around the element and use the consistent result. If the readings vary, check whether the end caps are bent, the element is distorted, or the surface is not flat.
How to Measure Outside Diameter (D1)
Measure the outside diameter across the main cylindrical body. Avoid measuring only a label, protective band, or deformed pleat. Take readings at both ends and near the middle. For elements with a stepped body, record each diameter and its axial position.
The largest functional diameter is usually the critical value. A raised seam, end-cap flange, or seal may determine whether the element enters the housing. Note these features separately instead of averaging them into one diameter.
How to Measure Inside Diameter (D2)
Measure the inside diameter through the central opening. If the element has a center tube, measure the clear opening at the sealing or locating area shown on the product drawing. For elements with different openings at each end, measure both ends and label them clearly.
Do not measure across an obstruction such as a spring, bypass component, or inner cage unless that feature is part of the required interface. Record the location of the measurement so the supplier can compare it with the correct drawing.
How to Identify Thread and Connection Details
Thread and connection details cannot be confirmed by diameter alone. Record whether the connection is male or female, the nominal thread size, the thread standard, and the sealing method. A thread pitch gauge is useful when the thread is accessible.
Common connection checks include:
- Male or female thread
- Nominal thread size
- Thread pitch and standard
- Flat seal, O-ring seal, tapered seal, or another sealing method
- Thread length and unthreaded shoulder
- Center-tube engagement
- Orientation of inlet and outlet features
Do not force a thread gauge or replacement element into a damaged connection. If the thread identification is uncertain, take a close photograph with a scale beside the thread and send the equipment model with the inquiry.
Additional Details to Confirm Before Replacement
A complete replacement record should include more than H, D1, and D2. Where available, add:
- Filtration rating and whether it is nominal or absolute
- Filter media type
- Seal material
- Maximum operating pressure
- Normal and maximum differential pressure
- Flow rate
- Fluid type and viscosity
- Operating temperature
- Bypass valve arrangement
- Collapse pressure requirement
- Equipment make, model, and filter location
These details help determine whether a physically similar element is suitable for the application. A filter that fits may still be unsuitable if its media, seals, pressure rating, or flow capacity does not match the system.
Recommended Measurement Record
Use a simple record like this:
1. Equipment model and filter location
2. Existing part number or marking
3. Overall height H
4. Outside diameter D1
5. Inside diameter D2 at each end
6. Thread or connection details
7. Filtration rating and media
8. Seal material
9. Flow, pressure, and temperature
10. Photographs of the element, markings, seals, and connection
Include a ruler or caliper in photographs when possible. Clear images often answer questions that are difficult to explain in a short message.
Common Measuring Mistakes
One common mistake is measuring only the element body and ignoring end caps or seals. Another is measuring a distorted element after it has collapsed and treating the damaged dimension as the original specification. Mixing imperial and metric readings without labeling them can also cause errors.
Teams sometimes rely on a part number alone even though the number has several versions, suffixes, or superseded references. In other cases, they identify a thread by diameter but do not confirm pitch or sealing type.
Finally, avoid estimating dimensions from a photograph without a scale. A photo is useful for checking the general shape, but it is not a substitute for a physical measurement.
How to Request a Dimensional Check
Send the existing part number, equipment model, measured dimensions, and photographs to AIDA. State which measurement points were used for H, D1, and D2, and include the filtration rating or operating requirements if known. If the element is unavailable, send the housing opening, center tube, seal area, and connection details instead.
A technical review can identify whether more information is needed before a replacement option is proposed. For products with several possible configurations, a dimensional check is safer than matching one number without context.
Contact AIDA:** https://www.aidafilter.com/contact-us
Browse hydraulic filter elements:** https://www.aidafilter.com/alternative-filter-element/
View the product catalog:** https://www.aidafilter.com/products/